DIY: Add Picture Frame Wire to your Frame or Canvas
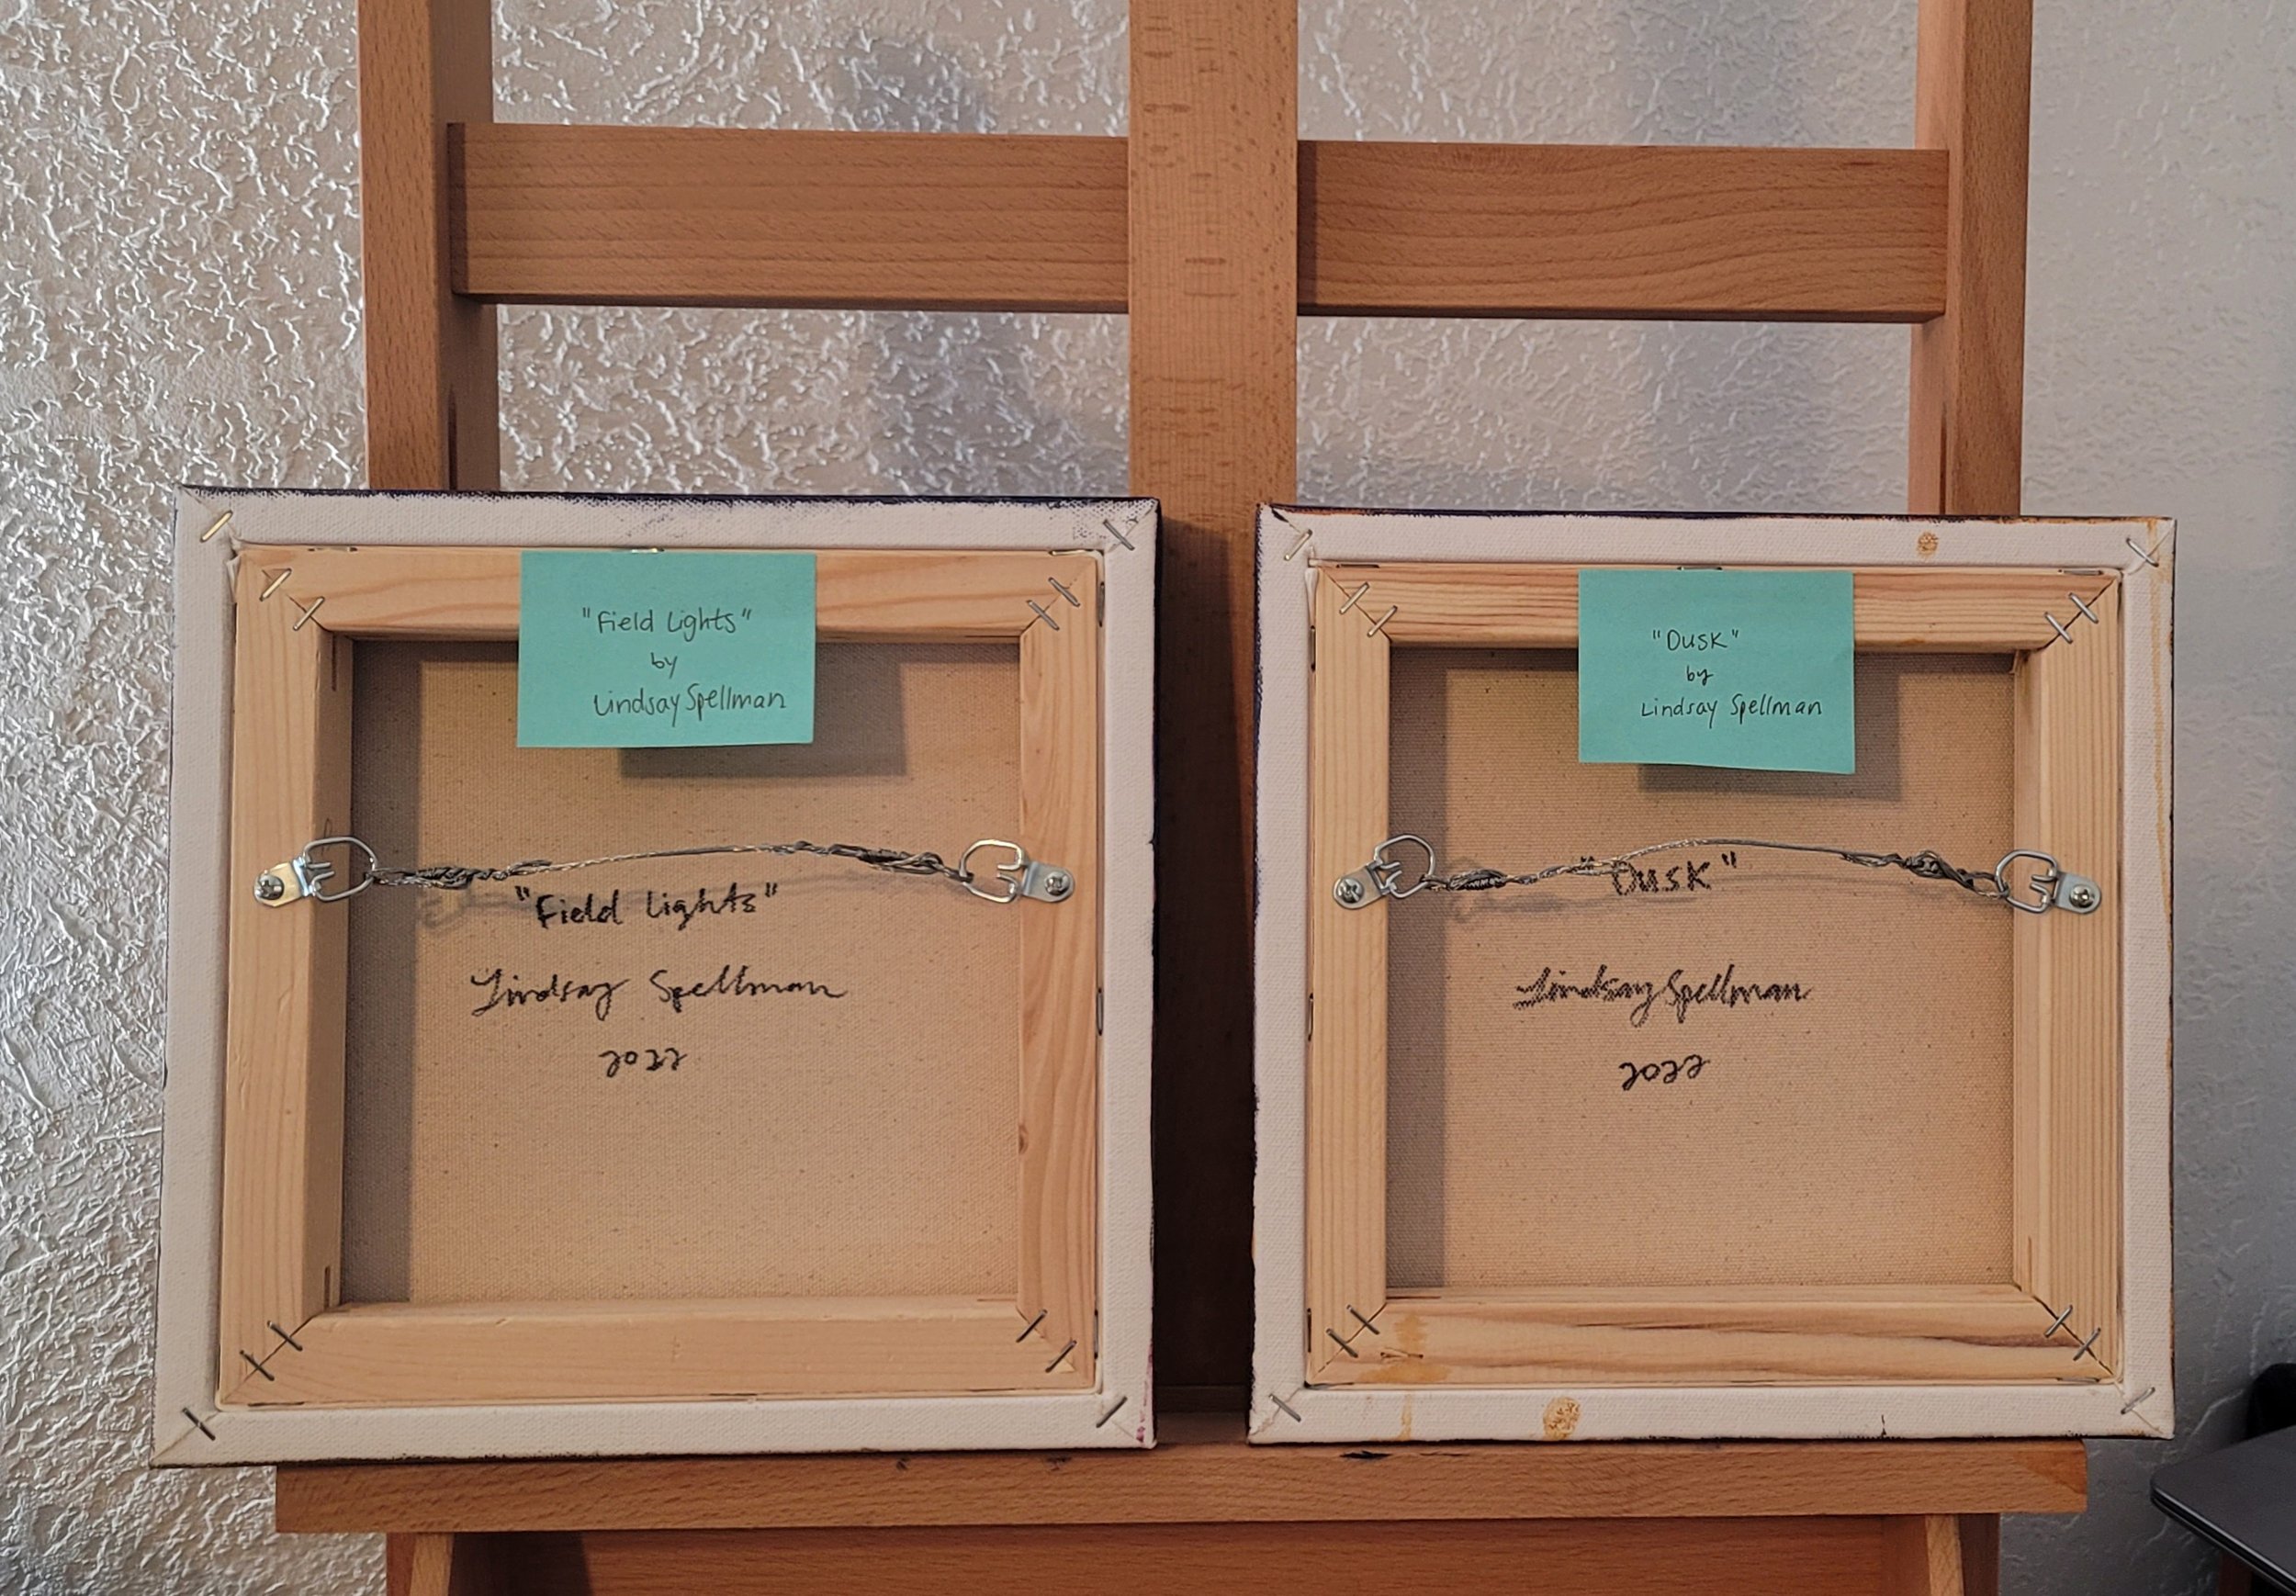
Hello fellow artists and art lovers! Do you have a stretched canvas or picture frame that has nothing on the back to hang it from? I’ve posted a step by step photo gallery on how I added D-Rings and Wire to the back of my exhibition panel canvas for an art show that I was preparing for! The gallery specifically asked for D-Rings with wire, not D-Rings alone. (sometimes a ready-made-frame will come with d-rings in the top-center at the back)
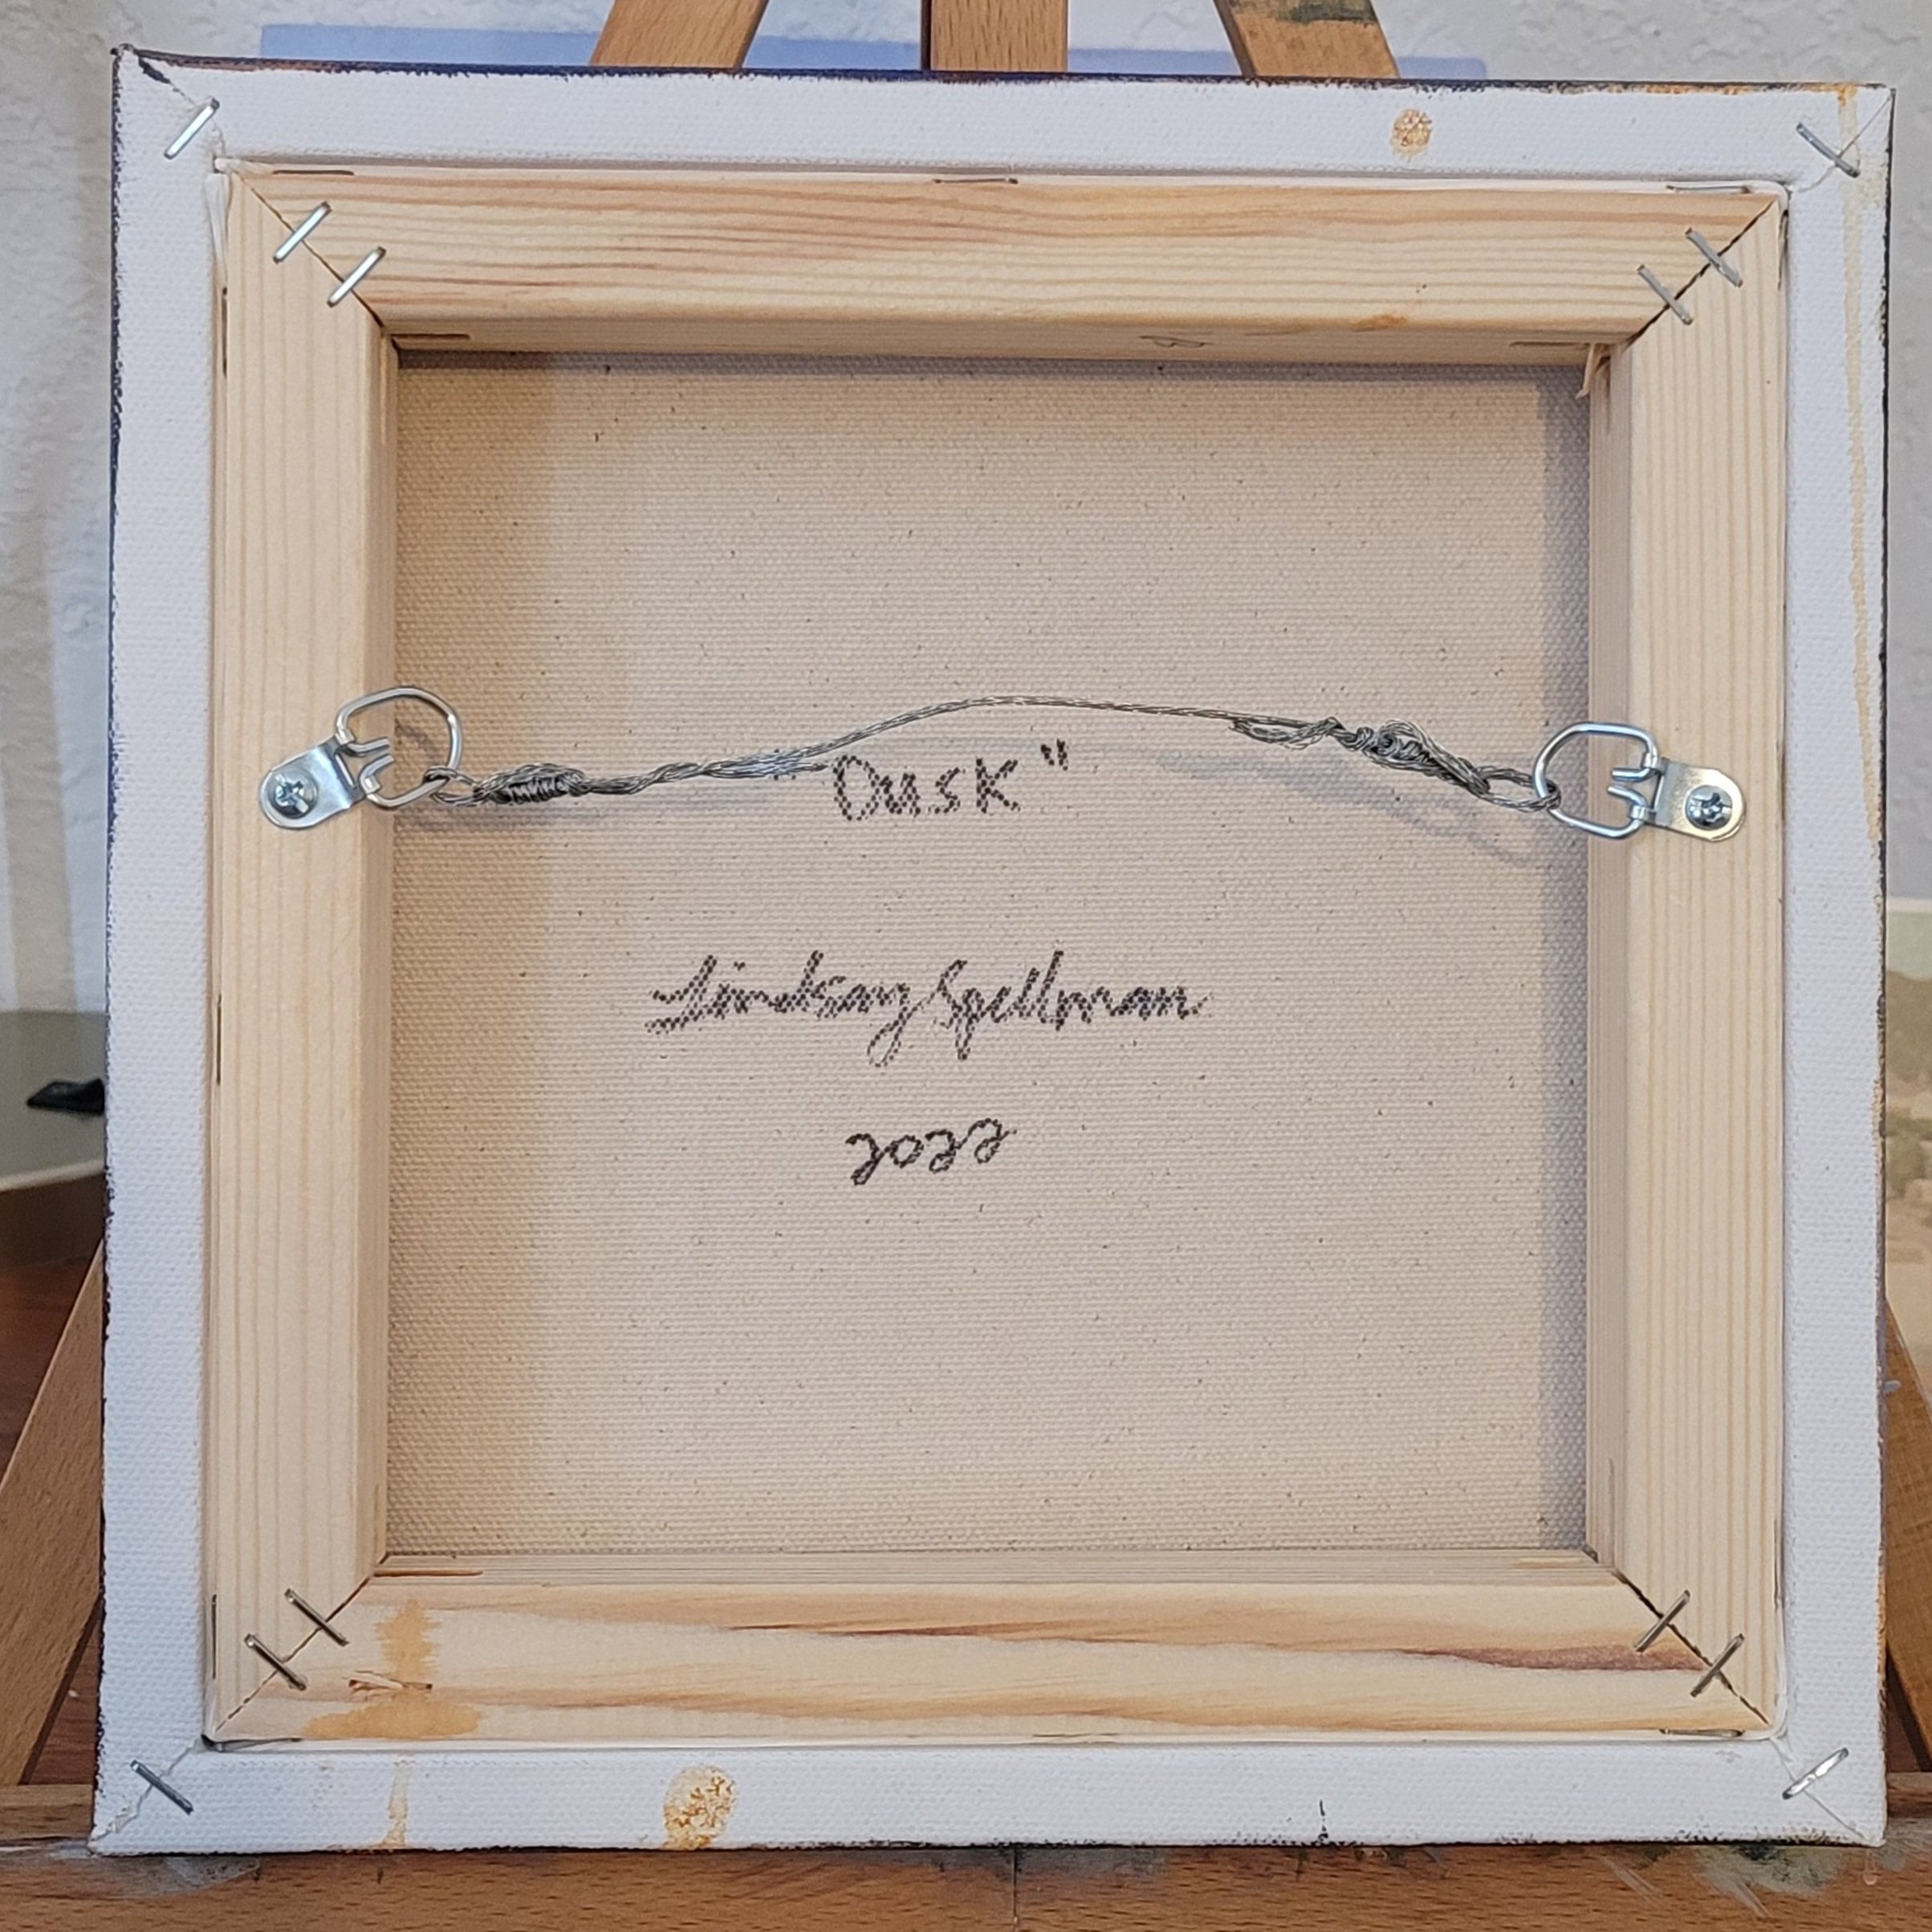
So there’s a few steps that were not documented at the beginning because luckily my husband got a head start, but we purchased small D-Rings with screws for the wood on the back of my canvases. We got them at Lowe’s. He drilled pilot holes 1/3 of the way down from the top. Drilling a pilot hole before using a screw or nail to join parts together makes the process easier and prevents the wood from splitting. They are small canvases, so we did that to be safe. Once the pilot holes were in we screwed on the D-Rings (as shown below) and angled them slightly upward, tight in place.
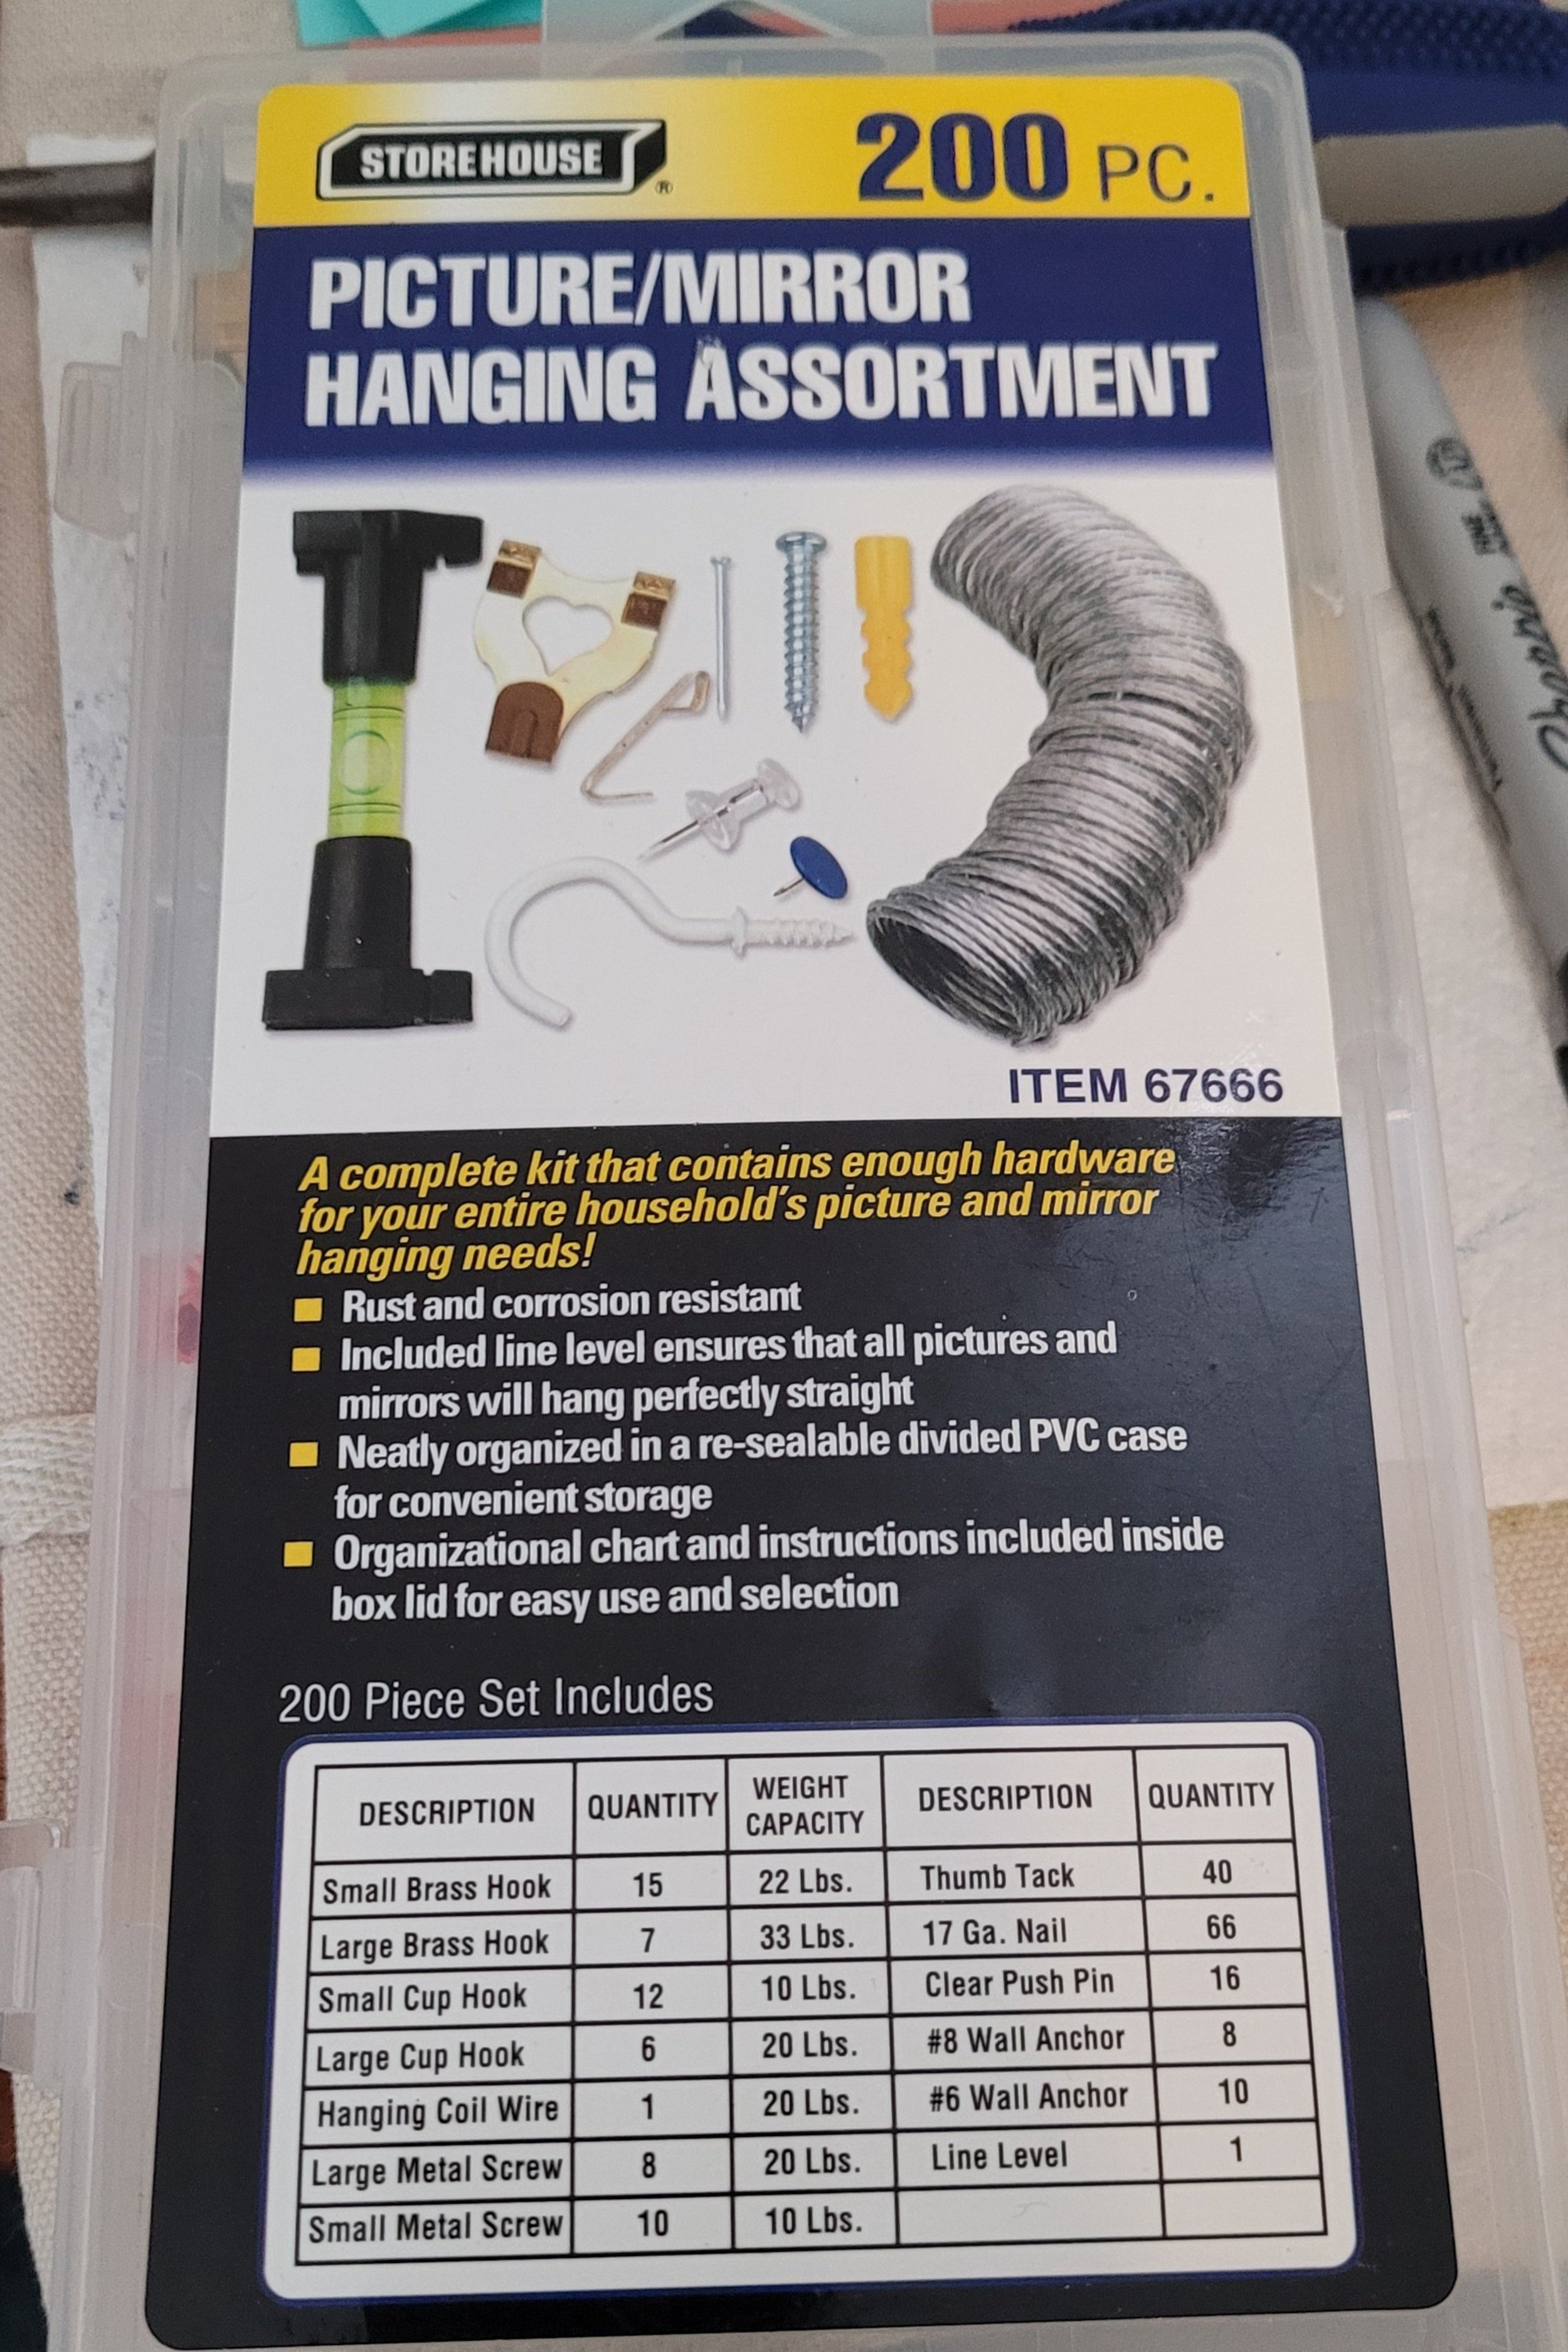

We had a small picture hanging kit that I got my hanging wire from. It also comes with small nails and hooks that you could later use to attach to the wall and hang the wire from. Unfortunately it didn’t come with the D-Rings though.
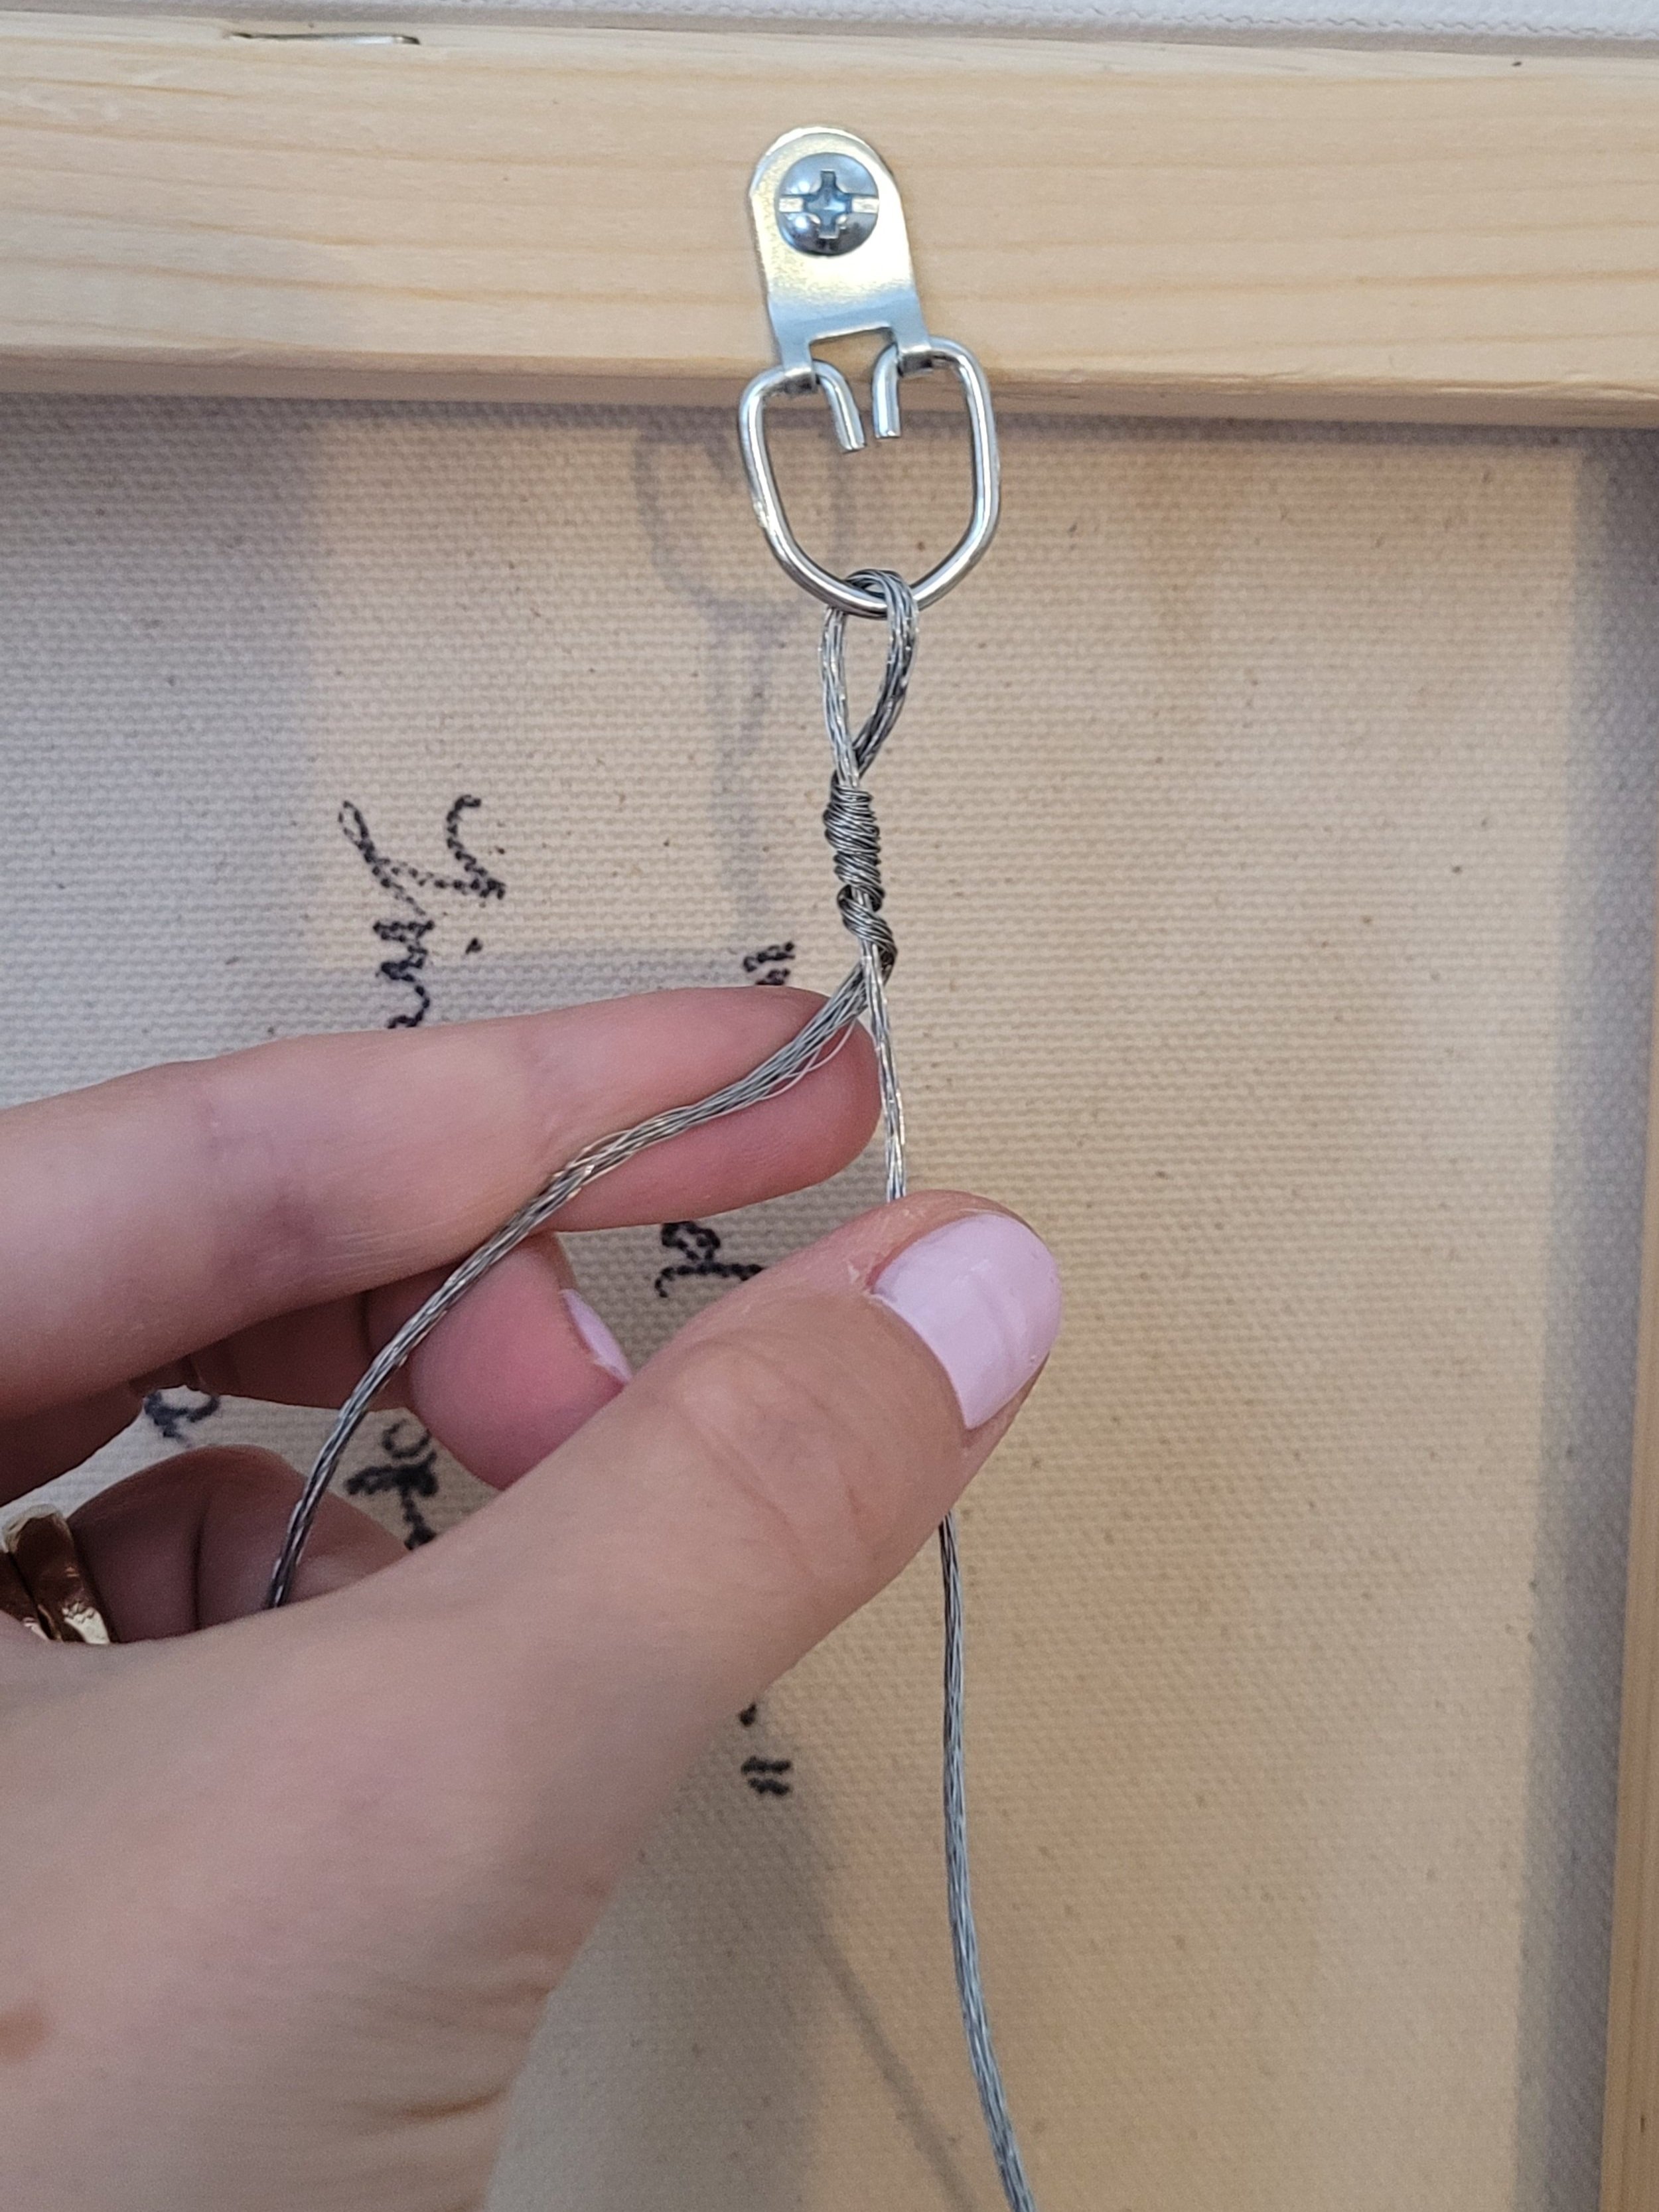
Now it’s time to attach the wire with fancy knots! Here are the steps I used below:

step 1
I weaved the wire through the ring and left 8-inches of slack to make the loop knot.
The length overall will depend on the size of your frame, but make sure it hangs around 2 inches from the top.

step 2
Then I flipped the canvas on its side so that I could be at the right angle to tie my knot

step 3
make a loop with enough room to put the wire through it later
step 4
wrap the wire directly underneath the loop 4-5 times

step 5
put the wire end through the top loop, leave a decent sized circle loop

step 6
once the wire is through the top loop, loop it again back through your circle loop

step 7
pull it down nice and tight

step 8
you can either cut the remaining slack from there or wrap it around a few more times

step 9
put the wire through the next d-ring and from here make sure the wire will hang max 2-inches from the top. Give the required slack to make the next loop as well.

step 10
repeat the loop knot on the other side!

cut however short you wish. And you’re done!
I hope this helped you make your loop knots tight and secure, ready to hang on the wall! The nice thing about having wire as opposed to just nails or d-rings alone is making it adjustable on the wall, keeping your picture movable to the right angle for its weight. Making the D-rings 1/3 or 1/4 down from the top will have it hang nice and close to the wall as well.
Good luck with your hanging endeavors and feel free to reach out for any questions or where to get certain supplies!
-Lindsay